Table of Contents
ToggleIn a world buzzing with notifications, it’s easy to feel overwhelmed. That little ping from your iPhone can turn a peaceful moment into a chaotic frenzy faster than you can say “text message.” Thankfully, there’s a magical button that can save the day: Do Not Disturb. It’s like putting up a “please do not disturb” sign on your digital door, allowing you to reclaim your sanity while still looking cool and collected.
Understanding Do Not Disturb Mode
Do Not Disturb mode offers a way to silence notifications and calls. This feature helps create a focused environment, allowing users to engage in activities without distractions.
What Is Do Not Disturb?
Do Not Disturb is a setting available on iPhones that temporarily mutes alerts and calls. Enabling it allows a user to establish uninterrupted moments. Priority continues for designated contacts while the rest are silenced. This feature works great during meetings or while sleeping.
Benefits of Using Do Not Disturb
Using Do Not Disturb provides several advantages for users. It improves concentration by limiting distractions from notifications. Additionally, it promotes better sleep by reducing disturbances during nighttime hours. This setting enhances personal time, allowing for relaxation without interruptions. Users also find it easy to customize, tailoring it to fit specific schedules and preferences.
How to Enable Do Not Disturb on iPhone

Enabling Do Not Disturb on an iPhone helps maintain focus by silencing notifications. Users can activate this feature quickly through different methods.
Using Control Center
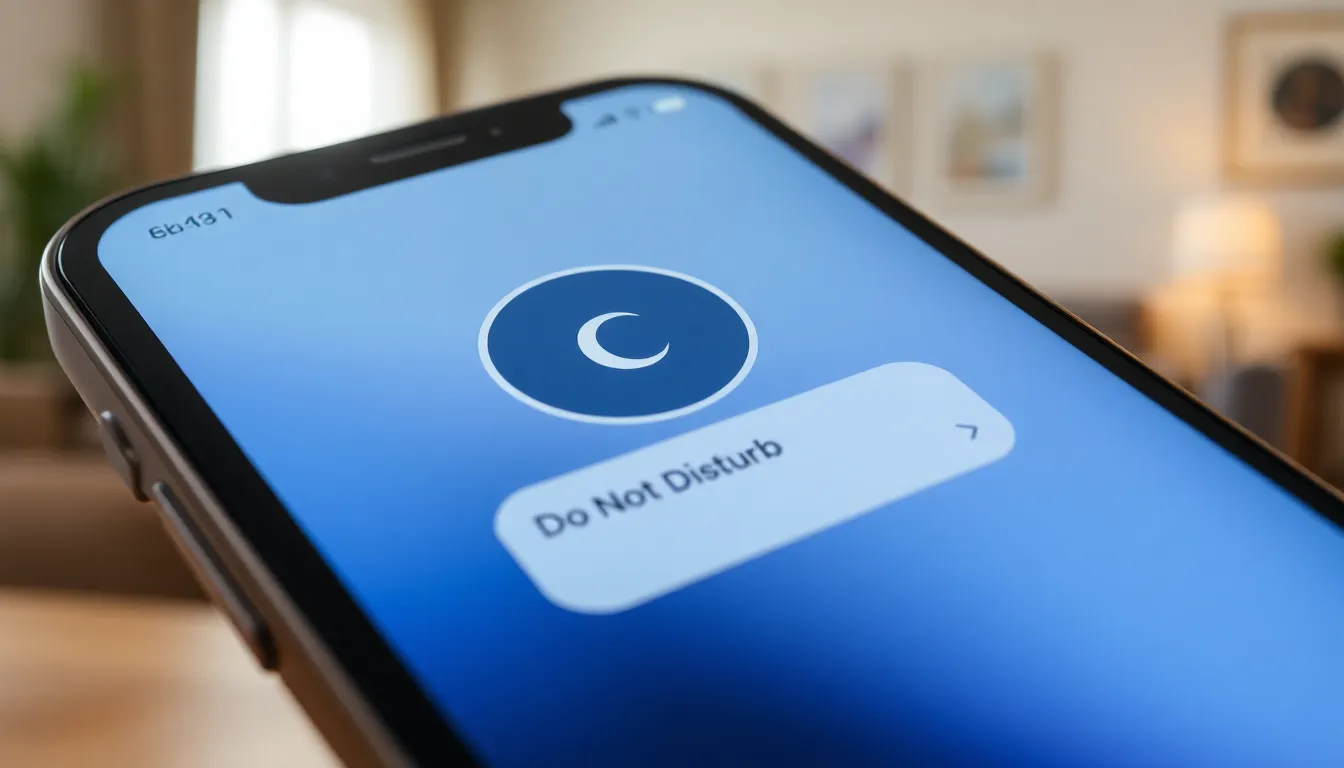
Accessing the Control Center provides a fast way to enable Do Not Disturb. Start by swiping down from the upper-right corner on iPhones with Face ID or swiping up from the bottom edge on models with a Home button. Look for the crescent moon icon; tapping it activates Do Not Disturb mode. A quick glance at the icon confirms it’s turned on. Users can adjust the duration by holding down the icon to select options like “Until tomorrow” or “Until I leave this location.”
Through Settings App
Navigating through the Settings app offers more customization options. Open the Settings app and scroll down to find “Focus.” Under Focus, select “Do Not Disturb.” Toggle the switch to enable the feature. Users can set individual settings, like allowing calls from specific contacts or scheduled times for activating Do Not Disturb. Customization also allows selecting silence modes for different scenarios, making it easy to tailor notifications according to their needs.
Customizing Do Not Disturb Settings
Customizing Do Not Disturb settings enhances the iPhone experience by tailoring notifications to individual needs. Understanding the various options available makes managing interruptions simple.
Schedule Do Not Disturb
Scheduling Do Not Disturb allows users to automate silent hours. Setting specific days and times ensures the feature activates during designated periods. Access the Settings app, tap on Do Not Disturb, and select Scheduled to enable it. Users can choose start and end times tailored to their routine. For instance, a user might set Do Not Disturb from 10 PM to 7 AM, ensuring restful sleep without interruptions.
Allowing Calls From Favorites
Allowing calls from favorites provides critical access during Do Not Disturb. Users can select essential contacts who can bypass the silence. To enable this feature, navigate to the Do Not Disturb settings within the Settings app. From there, select “Allow Calls From” and choose “Favorites” for added security. This setup ensures important calls, like from family or close friends, ring through, while most notifications remain silenced.
Troubleshooting Do Not Disturb Issues
Do Not Disturb may encounter issues that disrupt its effectiveness. Understanding common problems helps in identifying solutions quickly.
Common Problems
Users often experience notifications still coming through despite enabling Do Not Disturb. This issue may stem from settings allowing calls from certain contacts. Another frequent problem involves scheduled Do Not Disturb not activating at the designated times. Users might mistakenly set incorrect times or fail to enable the schedule properly. Additionally, confusion can arise when the focus mode is inadvertently activated alongside Do Not Disturb, creating conflicts in notification settings.
Solutions to Fix Do Not Disturb
To resolve continued notifications, users should check if they’ve allowed calls from favorites or repeated calls. Adjusting these settings can help silence unwanted alerts. Verifying scheduled times also proves essential; settings should reflect the intended activation periods accurately. Restarting the iPhone often clears glitches affecting Do Not Disturb functionality. If issues persist, updating to the latest iOS version may help. Regular updates include fixes for known problems, improving overall performance and user experience.
Embracing the Do Not Disturb feature on an iPhone can significantly enhance one’s daily life. By silencing distractions and allowing for focused time, users can reclaim their peace and productivity. Customizing settings ensures that important calls get through while minimizing interruptions from less critical notifications.
With simple activation methods and the ability to schedule quiet hours, this feature empowers users to take control of their digital interactions. Whether it’s for work, relaxation, or sleep, Do Not Disturb can transform the way individuals engage with their devices. Adopting this feature is a step towards a more balanced and mindful use of technology.


